Introduction
With GitHub making your projects shared with other end users and developers, automating your project workflow smoother has become an integral part of a developer like integration tests, building an image, and deploying the code to your favourite server. When I first thought to configure and automate the deployment process through CI/CD pipeline in my personal project, I always had a difficult time finding any workflow setup for my process. Then, GitHub action came into the picture, which was hard to feature in any project without knowing its actions followed by steps to run. Although there are some sample workflows available, sometimes it breaks and causes huge problems like failures in tests, etc. In this blog, I will feature GitHub action in action, I mean, a more precise way to show the flows provided by GitHub. It allows developers to easily integrate with other tools and services. For example, developers can use GitHub Actions to trigger a build on CircleCI or TravisCI, or to deploy their code to AWS or Google Cloud service provider.
If you are hearing this for the first time, GitHub Actions is that it is extremely easy to use. Developers can create custom actions like using JavaScript or any other programming language that can be executed on a Linux-based environment. For example, a workflow that runs npm install and npm test whenever code is pushed to the main branch.
How you setup your workflow
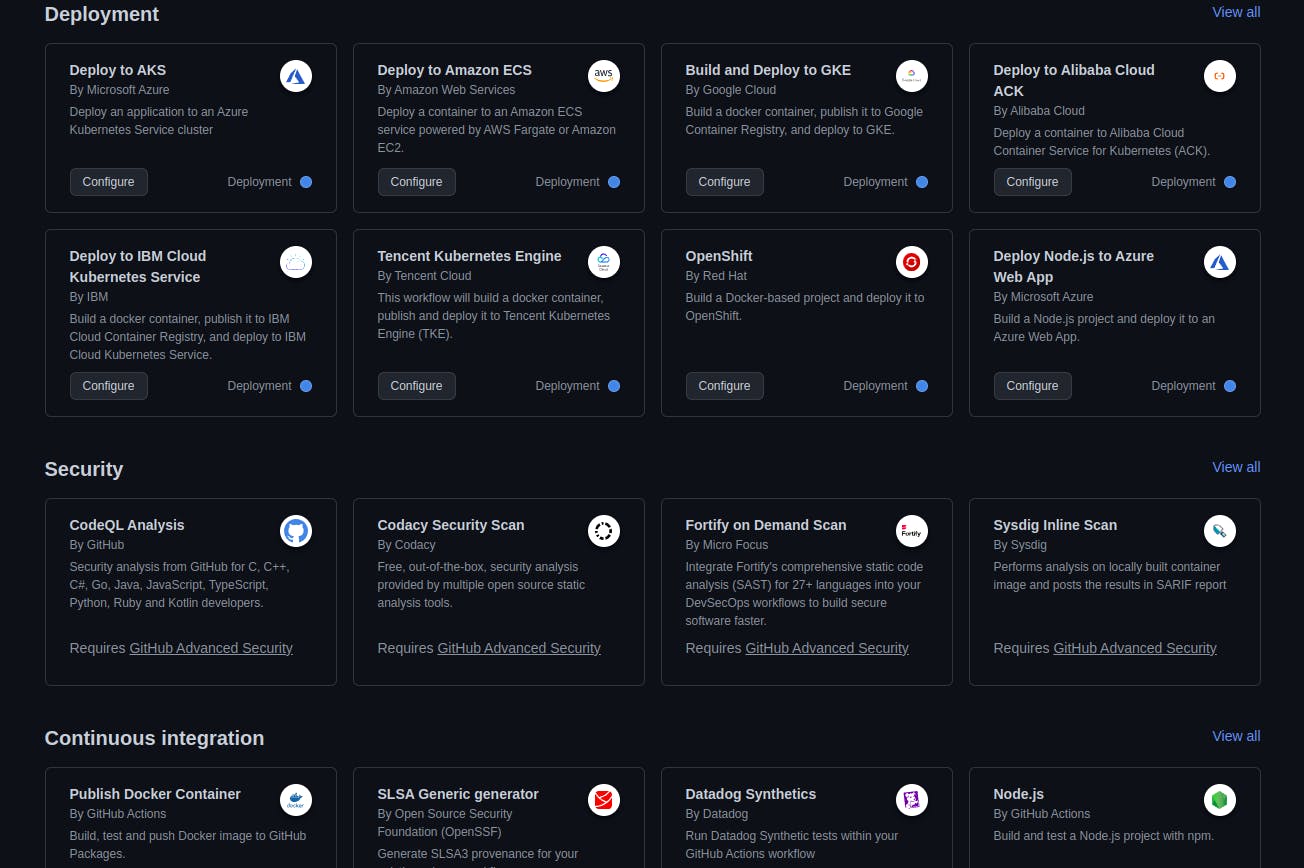
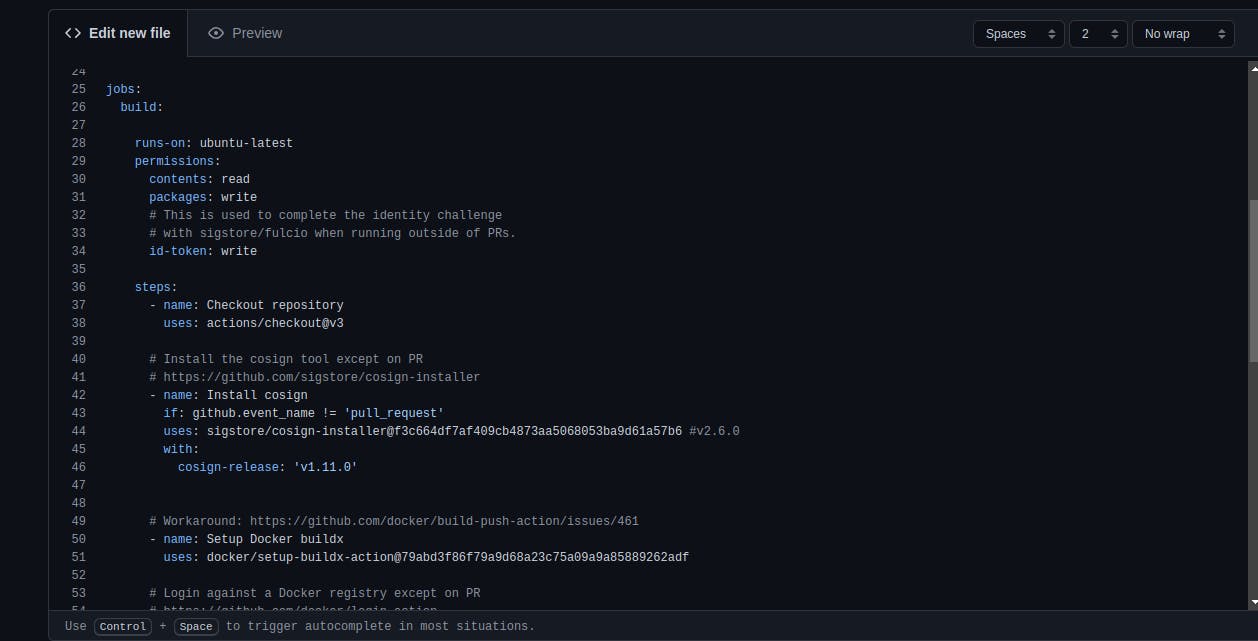
To start using GitHub Actions, we can simply navigate to the Actions tab on a GitHub repository and select New workflow. From there, we can configure the events that trigger your workflow, as well as the actions that should be executed as shown below.


Use cases of GitHub Action in your repository
Here are a few examples of how you might use GitHub Actions to automate different tasks in your workflow:
- Building and testing your code: You can use GitHub Actions to automatically build and test your code whenever changes are pushed to a specific branch. This can be done by creating a workflow that listens for push events and then running your build and test commands as actions in that workflow. Here is an example of a workflow that runs
npm installandnpm testwhenever code is pushed to themainbranch:
name: Build and Test
on:
  push:
    branches:
      - main
jobs:
  build:
    runs-on: ubuntu-latest
    steps:
    - name: Checkout code
      uses: actions/checkout@v2
    - name: Install dependencies
      run: npm install
    - name: Test
      run: npm test
- Automatically deploying to a staging environment: You can use GitHub Actions to automatically deploy your code to a staging environment whenever changes are pushed to a specific branch. This can be done by creating a workflow that listens for push events and then running your deployment commands as actions in that workflow. Here is an example of a workflow that deploys code to a Heroku app whenever code is pushed to the
mainbranch:
name: Deploy to Staging
on:
  push:
    branches:
      - main
jobs:
  deploy:
    runs-on: ubuntu-latest
    steps:
    - name: Checkout code
      uses: actions/checkout@v2
    - name: Deploy
      run: |
        git push https://heroku:${{ secrets.HEROKU_API_KEY }}@git.heroku.com/staging-app.git HEAD:main
CI/CD Basics and its integration with GA
Let's deep dive into this introducing CI/CD basics. So, CI/CD (Continuous Integration/Continuous Deployment) is a software development practice that involves continuously building, testing, and deploying code changes to a production environment.
A basic CI/CD pipeline may include the following steps:
Code is committed to a version control system such as Git.
A build process is triggered, which compiles the code and runs any tests.
If the build and tests are successful, the code is deployed to a staging environment for further testing.
Once the staging environment tests are passed, the code is deployed to a production environment.
Here is a basic example of how you might set up a CI/CD pipeline using GitHub Actions:
In your GitHub repository, navigate to the "Actions" tab and create a new workflow.
In the workflow, configure the event that triggers the pipeline (e.g., when a pull request is opened or when code is pushed to a specific branch).
In the pipeline, include actions that run your test suite and build your code.
If the tests and build are successful, include actions that deploy your code to a staging environment, such as a cloud-based virtual machine or a container.
After your staging environment tests are passed, include actions that deploy your code to a production environment.
You can also use tools like CircleCI, Jenkins or TravisCI etc. for CI/CD pipeline, these are a few examples of how the pipeline might look like:
CircleCI:
In CircleCI, you configure your pipeline in a
.circleci/config.ymlfile in your repositoryIn this file, you can specify which events trigger the pipeline (e.g., when a pull request is opened or when code is pushed to a specific branch)
You can specify a sequence of jobs to run, such as building the code, running tests, and deploying to staging or production environments.
Jenkins
In Jenkins, you configure your pipeline by creating a
Jenkinsfilein your repositoryIn this file, you can specify which events trigger the pipeline (e.g. when a pull request is opened or when code is pushed to a specific branch)
You can specify a sequence of stages to run, such as building the code, running tests, and deploying to staging or production environments.
TravisCI:
In TravisCI, you configure your pipeline in a
.travis.ymlfile in your repositoryIn this file, you can specify which events trigger the pipeline (e.g., when a pull request is opened or when code is pushed to a specific branch)
You can specify a sequence of commands to run, such as building the code, running tests, and deploying to staging or production environments.
These are just a few examples of how you might set up a CI/CD pipeline using different tools, there are many other CI/CD tools and platforms available as well, each with its own set of features and capabilities.
Conclusion
Overall, GitHub Actions is a powerful tool that can greatly streamline the development workflow, by automating tasks and integrating with other tools. By using it, you'll be able to reduce the time spent on repetitive tasks and focus on the development of your software.

